
I am not a fan of deep frying at home; it’s just not a skill I’ve mastered. But my son loves buffalo wings, so I found a way around the frying. Baking the wings on a rack keeps the chicken out of the fat, so the skin gets nice and crispy. There are two added bonuses to the method: 1) It’s definitely healthier than frying, and 2) the chicken ends up super moist and tender. I truly prefer them to the fried wings at restaurants.
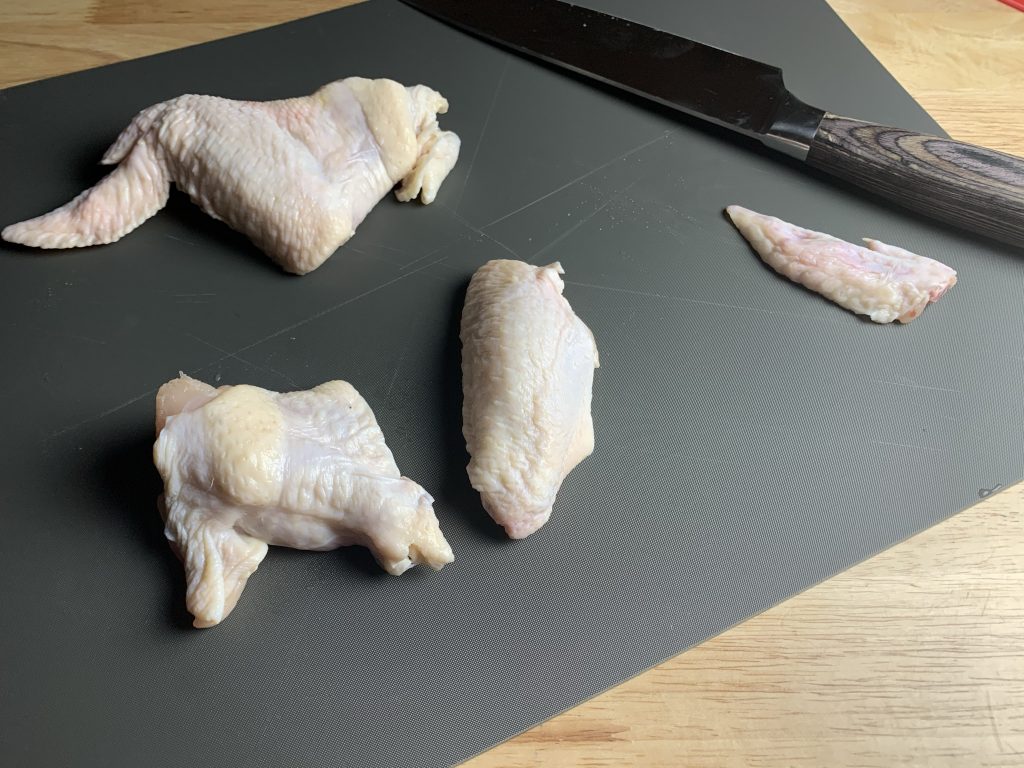
Unfortunately, when I buy a big pack of chicken wings, they usually are whole. That means step one is to separate the flats from the drumettes and remove and discard the tip. I can find packs of just the drumettes, but I’m an all-flats gal, so I’m out of luck there.
I find that if I cut through the skin flap in the center, I can pop out the joint and easily cut through with a sharp knife.
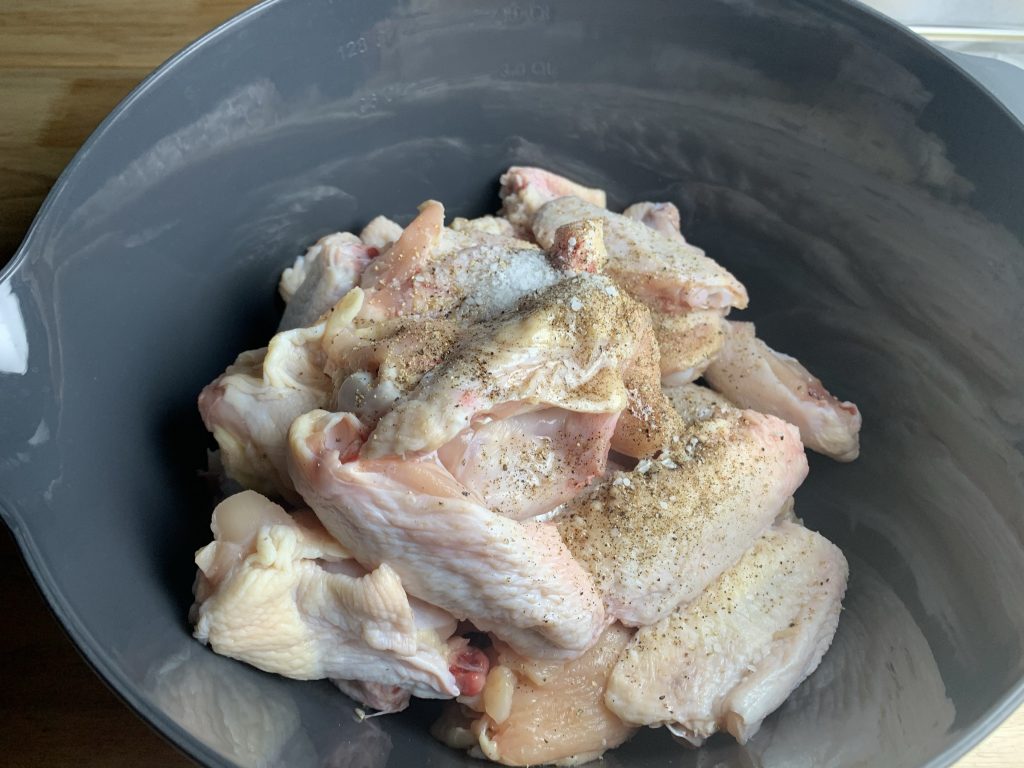
To create an extra-crispy and tasty skin, I toss the wings in a little vegetable oil and season them with salt and pepper. They are honestly delicious even without sauce.
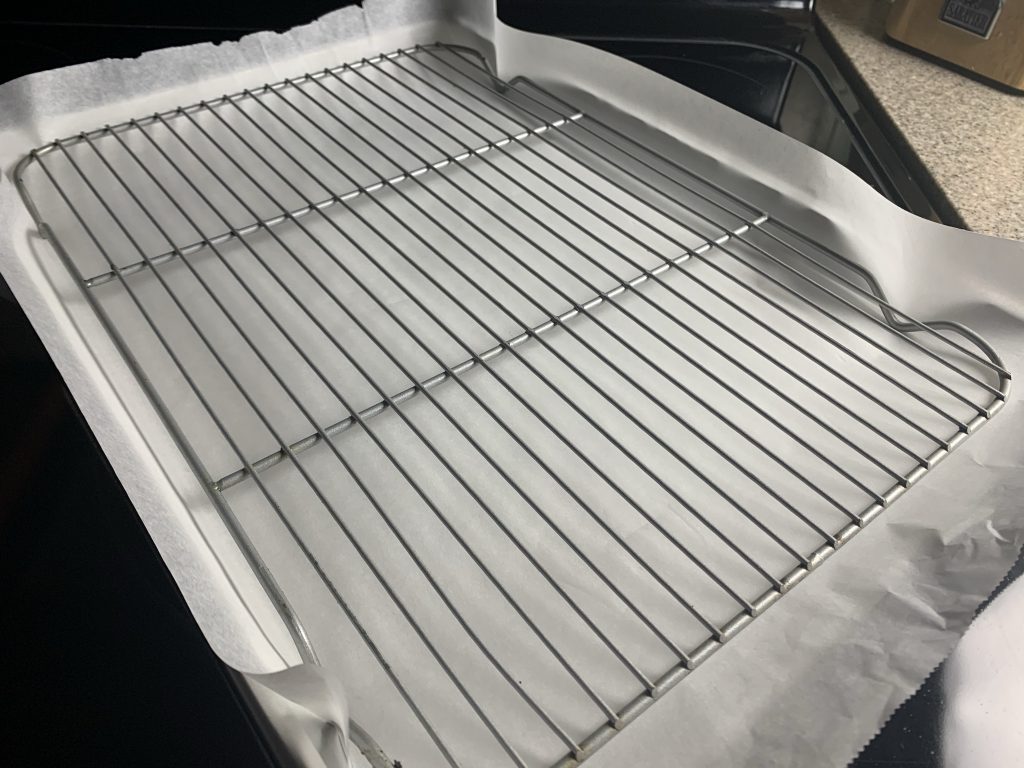
You will need two rimmed half-sheet pans with racks that fit inside. I also line the pans with parchment paper for easy cleanup.
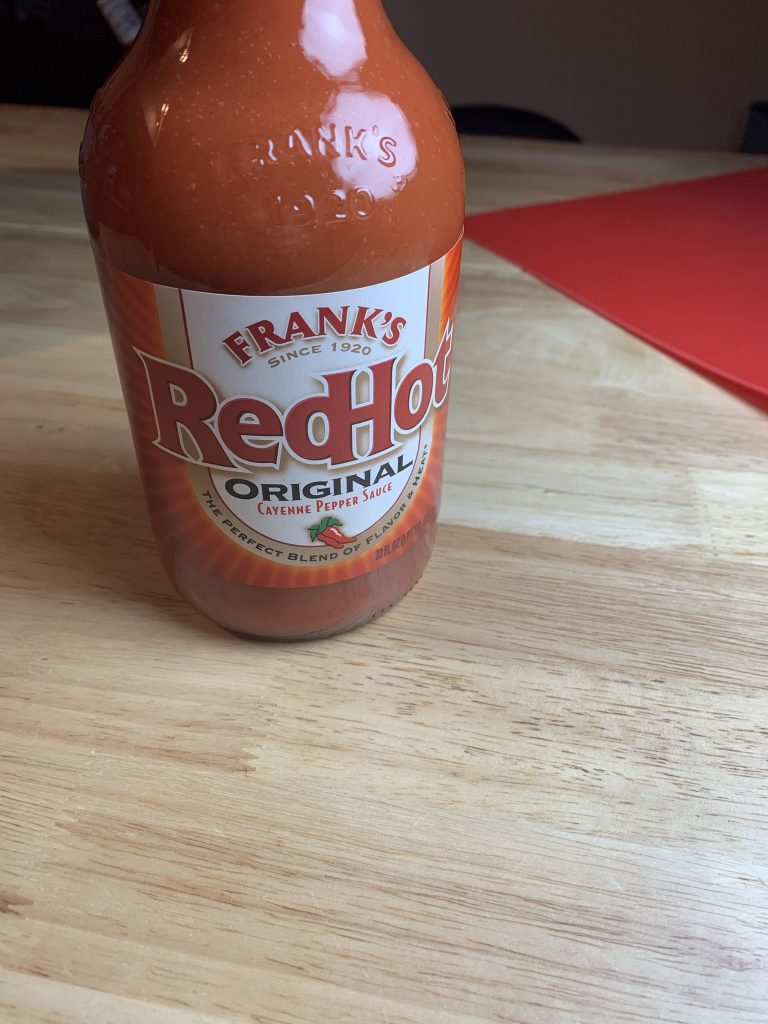
For my buffalo sauce, I go super simple: hot sauce and butter. Frank’s Original Hot Sauce is my-go to, and I typically go with two tablespoons of butter to one cup of hot sauce for a spicy medium. You can definitely add more butter for a milder sauce.
Once the wings come out of the oven, just toss them in the warm sauce. Serve them with some of my creamy Blue Cheese Dressing and celery sticks to cut the heat!
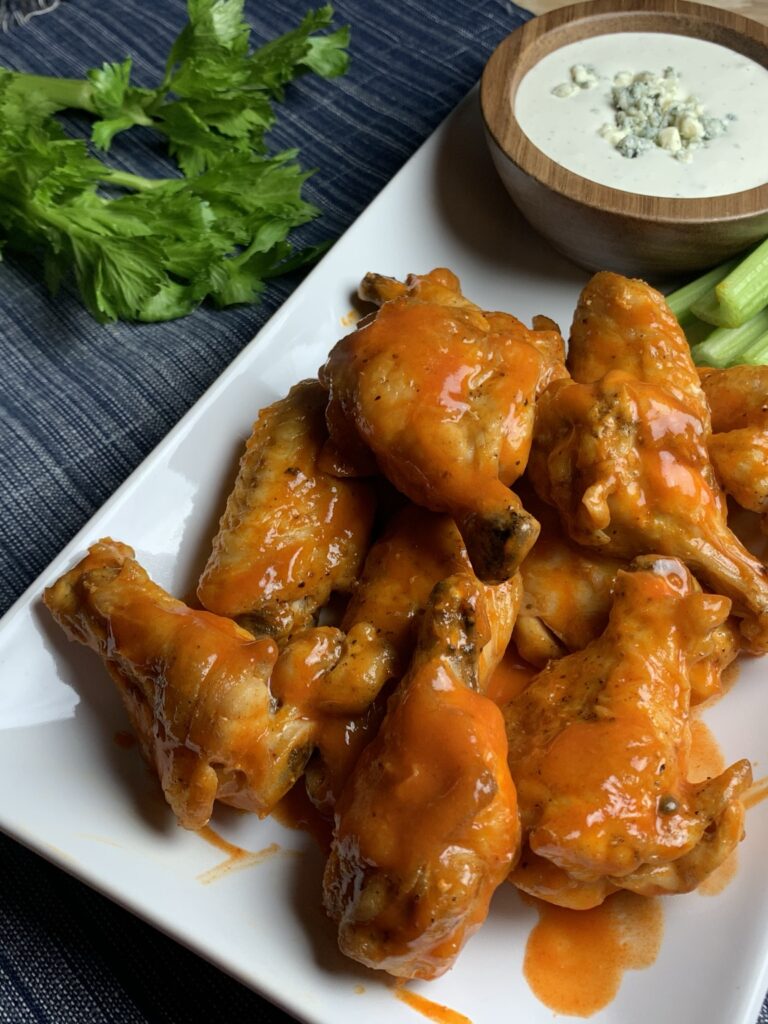

Crispy Oven-baked Buffalo Wings
Ingredients
Chicken Wings
Buffalo Sauce
Instructions
-
Preheat oven to 400℉.
-
If your wings are whole, separate the drumettes from the flats and remove and discard the tip.
See comments in post above. -
In a large mixing bowl, toss the wing parts with the vegetable oil, salt, and pepper.
-
Prepare two large baking sheets with racks. I like to line the pans with parchment paper and to spray both sides of the racks with cooking spray for easy cleanup.
Arrange the wing parts on the racks, leaving some room in between each.

-
Bake for 50-60 minutes, rotating pans halfway through.
I like to let them go the full 60 minutes; I have never had them dry out. The skin should be crispy to the touch.

-
While the wings cook, prepare the buffalo sauce.
Add the hot sauce and butter to a small saucepan over medium heat. Allow butter to melt into sauce, whisking to combine. Reduce heat to low to keep warm until you are ready to sauce your wings.
For less spicy wings, you can add more butter. -
When the wings are done, add some wings and buffalo sauce to a mixing bowl and toss to coat.
Serve with my creamy Blue Cheese Dressing and celery sticks.

